Local server
Alternative to the Cloud deployed server, maintained by Barco, it is possible to install the QAWeb Enterprise Server locally on your network infrastructure.
Machine requirements
The machine which runs QAWeb Enterprise Local Server needs to meet these minimal requirements:
8 Gb RAM
2 vCPUs
50 Gb hard disk
1 virtual network adapter
Depending on the size of the organization and task schedule frequency, server provisioning might need adjustment.
The server application requires that the operating system should fully support Docker Engine (current version: 20.10) and the Docker Compose plugin (current version: 2.12). The Docker Engine container technology is used to deploy and orchestrate the back-end services, including the database and storage systems needed to run the application.
Barco recommends using Ubuntu Server 22.04 LTS with the docker Snap as the base OS for the server machine. Alternatively, other Linux-based OSes like Ubuntu Pro or Red Hat Enterprise edition (non-limited list) can also be used as long as an appropriate version of Docker is available. Microsoft Windows is not supported.
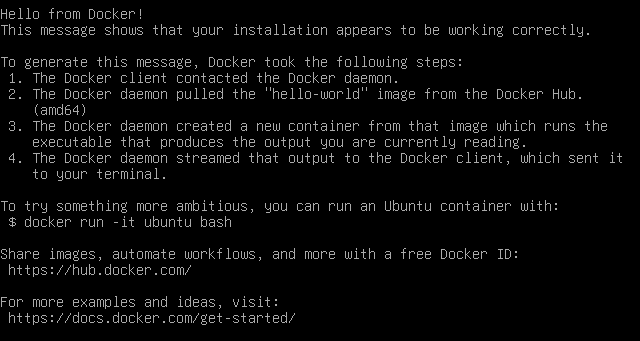
Make sure your docker configuration is working by running:
docker run -ti --rm hello-world
참고
For Agents to be capable of connecting to the Local Server, a trusted certificate is required. Self-signed certificates are not supported.
Downloading the installation files
참고
Important! To be able to download the installation files, you’ll need an entitlement ID. Contact your Barco Sales representative or your partner to obtain such entitlement.
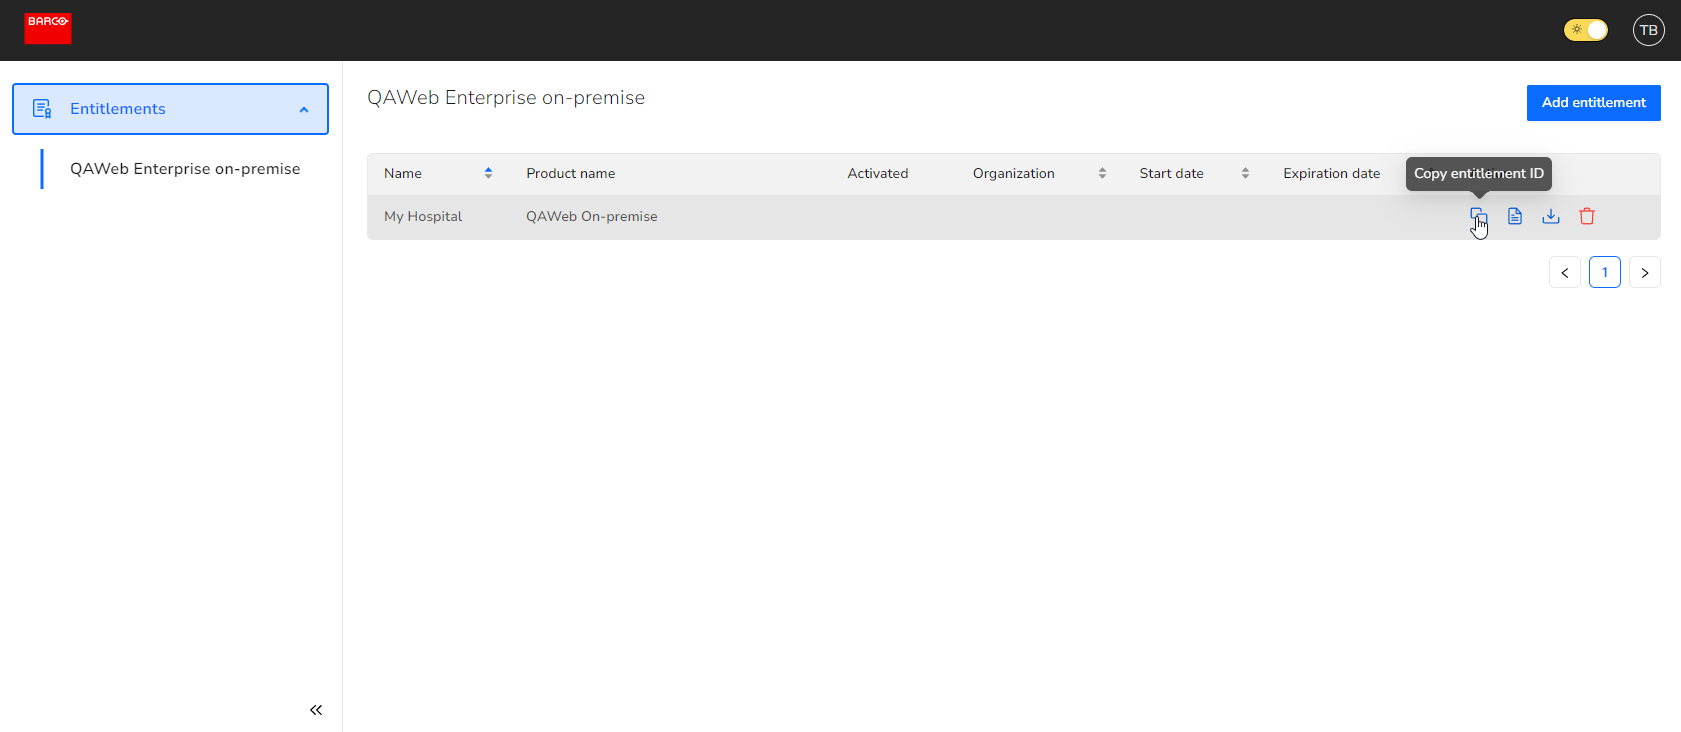
Head to the Barco healthcare license portal and navigate to Entitlements > QAWeb Enterprise on-premise.
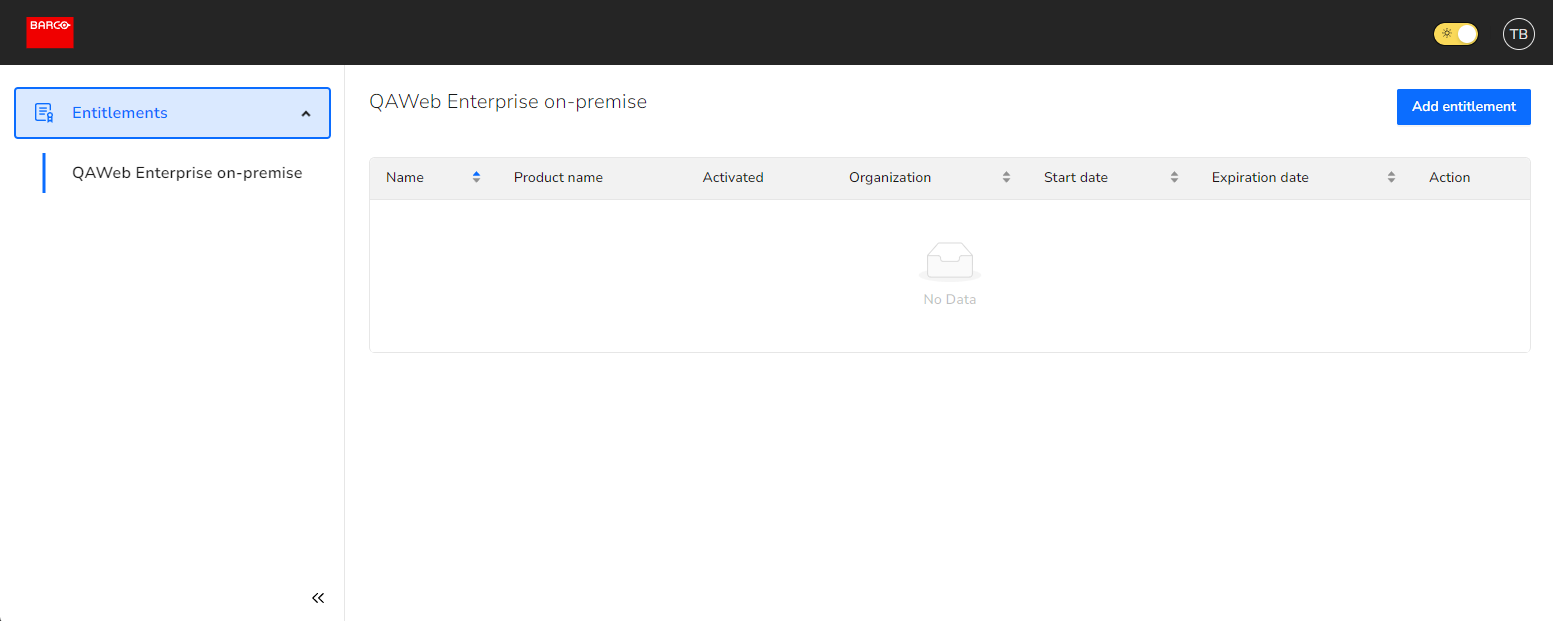
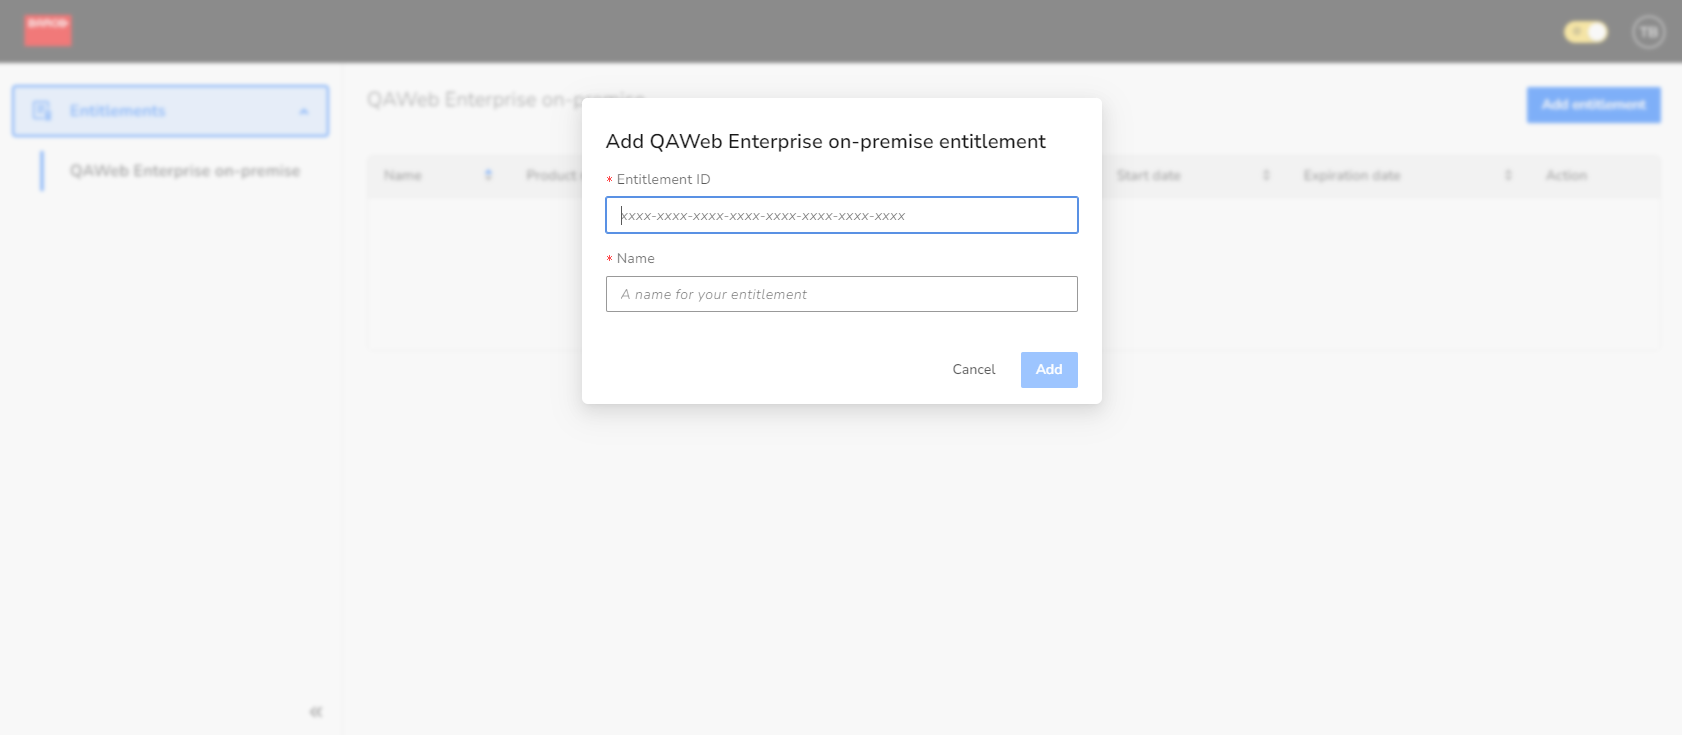
Add an entitlement by clicking Add entitlement and provide your entitlement ID and a identifiable name for your entitlement (e.g. My hospital).
Once you’ve successfully added your entitlement, you’ll be able to download the installation files by clicking the download button.
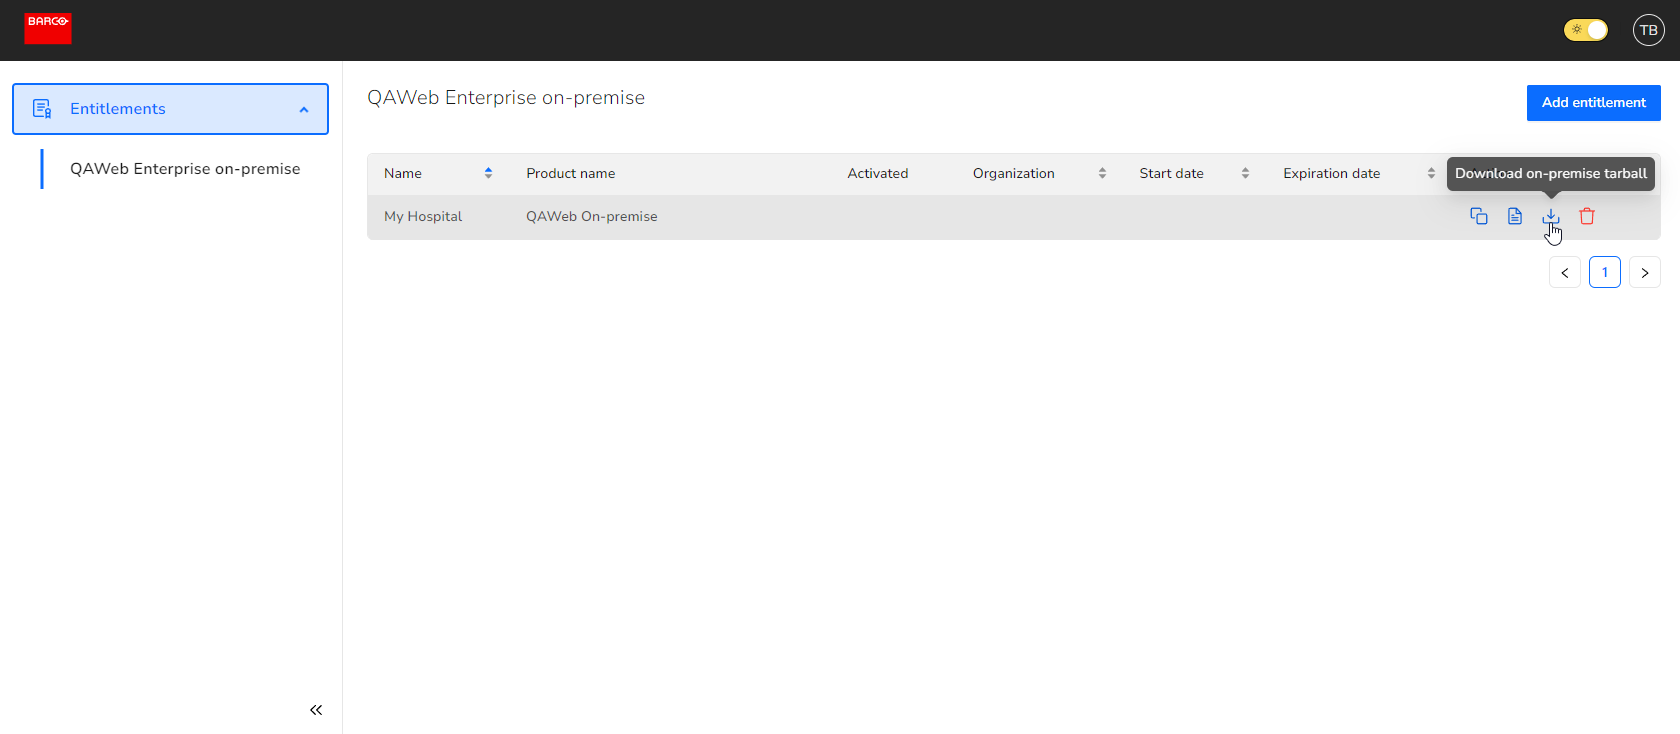
Tip You can always retrieve the entitlement ID by clicking the copy button.
Installation of the server application
참고
Important! The installation of the Local Server requires a valid product license.
We assume you will run the Local Server application as a non-root user. Once docker is installed, there should be no need to run any commands as root. If you do run commands as root (by using sudo, for instance), you may end up with a strange and unexpected mix of files being owned by root and your non-root user, which may prevent the Local Server from starting or operating correctly.
Download the most recent version of the Local Server application. You can download this from the Barco healthcare license portal, as described in the previous step.
Copy the downloaded file (e.g. installation-archive.tar.gz) to the home directory of your non-root user’s target system
Unpack the archive:
tar xzvf installation-archive.tar.gz
Change your directory to the newly unpacked folder
qaweb:cd qaweb/
Run the install script:
./install.sh
In case you want to store the Local Server log files on a different machine (recommended), you may want to mount a network drive on the
run/logdirectory to automatically send logging information to the target machine. Make sure to configure the mount in a manner that allows the user launching the server to write to the directory and make sure that the network drive is always mounted before launching the Local Server. Also bear in mind that logs will be rotated, so the oldest logging information will be discarded when sufficient new logging statements have been added.
Configuration of the server application
The Local Server needs to be configured before it can be started. To accomplish this, a configuration tool has been included, which will require the following information:
CERT_FILE,PRIVATE_KEYandPASS_FILE: Settings related to the certificate that should be used by the Local Server for secure HTTPS communication.The method to obtain an HTTPS certificate for your Local Server will depend on your organization’s procedures, its IT security policy, whether you are using an external or in-house Certificate Authority (CA), legal requirements and potentially other factors.
When generating the certificate, please be aware that the certificate cannot be self-signed; it must be signed by a certificate authority that is trusted by machines accessing the Local Server Portal and machines running the Agent software.
There are many web hosting and DNS providers that can provide signed certificates that you can use securely and will be trusted by your machines through one of the Root Certificate Authorities that are trusted by default. You can also purchase a certificate from a Root CA directly. Examples of Root certificate authorities that are trusted by most machines are (without any order of preference) Digicert, Entrust, GlobalSign and Verisign. During certificate creation, if asked which HTTP server software to generate a certificate for, select NGINX.
If you are planning to create your own CA, be aware that improper management of a CA certificate and its corresponding private key may result in malicious actors being able to setup rogue servers that will appear trustworthy to your machines. The use of your own CA can be part of a well-thought-out IT policy, but should be considered on a company-wide level, not as part of the Local Server installation. The CA certificate should never be present on the machine running the Local Server.
Don’t forget to update the Local Server’s certificate before it expires. To update the certificate used by the Local Server, stop the Local Server, replace the certificate files, rerun the configuration script if filenames have changed and relaunch the Local Server.
The configuration tool expects file paths for these settings relative to the
conf/certsdirectory of the Local Server’s installation directory. The configuration tool uses a file selector that only looks at the correct path and allows easy file selection. You should place the relevant files in theconf/certsdirectory before launching the configuration script.The certificate and private key files are required. The
PASS_FILEsetting should point to a file containing the password to decrypt the private key. If the private key is not protected by a password, a password file does not need to be provided.The certificate and private key files are expected to be provided in the PEM format. The password file is expected to contain the password for the private key in plain text, so make sure that file is accessible only by authorized users.
The certificate configuration is verified to make sure the private key matches the certificate and the private key can be decrypted using the password in the password file (if one is provided).
DOMAIN_NAME: The full host name to be used by the Local Server. This hostname is checked against the configured certificate to make sure that the hostname is compliant.SMTP_SERVER_HOST,SMTP_SERVER_PORT,SMTP_SERVER_SSL,SMTP_SERVER_STARTTLS,SMTP_AUTHENTICATION_ENABLED,SMTP_AUTHENTICATION_USERandSMTP_AUTHENTICATION_PASSWORD: The SMTP configuration to be used by the Local Server to send email.The
SMTP_SERVER_SSLandSMTP_SERVER_STARTTLSsettings are boolean (true/false) values that indicate whether SSL/TLS and/or STARTTLS should be used when connecting to the SMTP server.SMTP_AUTHENTICATION_ENABLEDindicates whether or not the SMTP server requires authentication. If it does,SMTP_AUTHENTICATION_USERandSMTP_AUTHENTICATION_PASSWORDcontain the credentials needed to authenticate.The boolean (true/false) settings are set through a list of checkboxes in the configuration tool.
SMTP_MAIL_FROMandSMTP_MAIL_FROM_DISPLAY_NAME: The mail address and display name to use for the “From” field in mails sent out by the Local Server.SMTP_TEST_MAIL_TOandSMTP_TEST_MAIL_TO_DISPLAY_NAME: The mail address and display name to send mail to when testing the SMTP settings.The Local Server will attempt to send out a test mail as part of its startup sequence. If this test fails, the Local Server will not continue startup. Note that there is no verification that the test mail is received. Only its transmission is checked.
PUBLIC_RSYSLOG_PORTport to use for logging.QAWeb Enterprise Local Server uses rsyslog functionality for logging purposes. As your system may already be running an rsyslog daemon, we use port 5140 instead of the standard rsyslog port (514) by default. You are free to use a different port if preferred.
Note that QAWeb Enterprise Local Server only binds its rsyslog daemon on localhost (127.0.0.1). The rsyslog daemon is not visible to other machines on your network.
BACKUP_SCHEDULE: The schedule that determines how often and when a backup should be created of all data stored by the Local Server.This is a cron schedule expression, which gives you a lot of control over the backup schedule. For example, a cron schedule expression
5 16 * * 0,4would create a backup “At 16:05 on Sunday and Thursday.”For convenience, the following shorthand expressions are also supported:
@yearly/@annually@monthly@weekly@daily@midnight@hourly
KEEP_NUMBER_OF_BACKUPS: The number of backups to store.
Before the configuration tool is launched, you should place the certificate files for HTTPS communication in the conf/certs
subdirectory of the Local Server installation directory.
NOTE: Please be aware that running the configuration tool will have no effect on a Local Server instance that is already running. To ensure consistency, you should refrain from modifying the configuration while the Local Server is in operation.
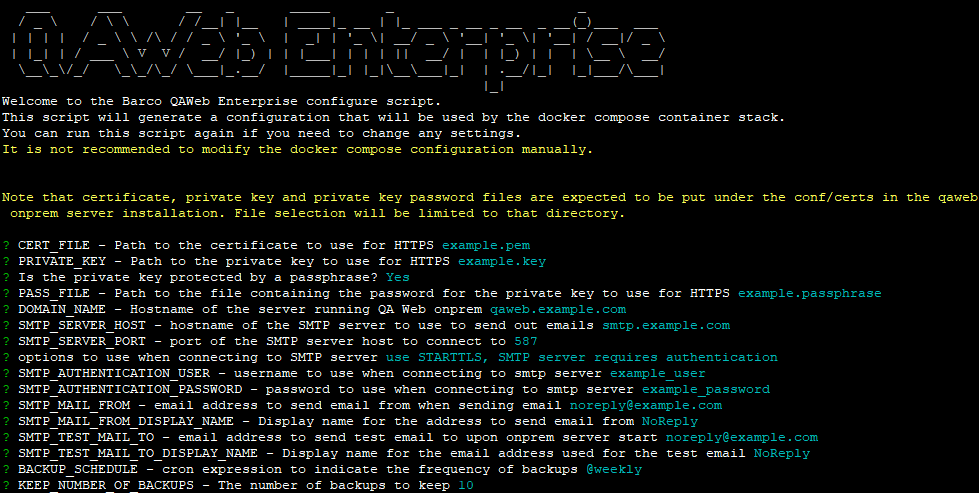
From the directory containing the extracted tarball, run the configuration script:
./configure.sh
This will launch the interactive configuration tool for the local server installation.
If at any point, you realize you’ve made a mistake, you can abort the configuration tool by pressing CTRL+C to discard any information
entered so far.
You can also re-run the configuration tool after completion. It will read any values configured in a previous execution and use those values by default.
The configuration script will also create a timestamped copy of the configuration in conf/env to provide an easy way to reference old
configurations.
Launching the server application
To launch the server application, run the start script from the Local Server’s installation directory:
./start.sh
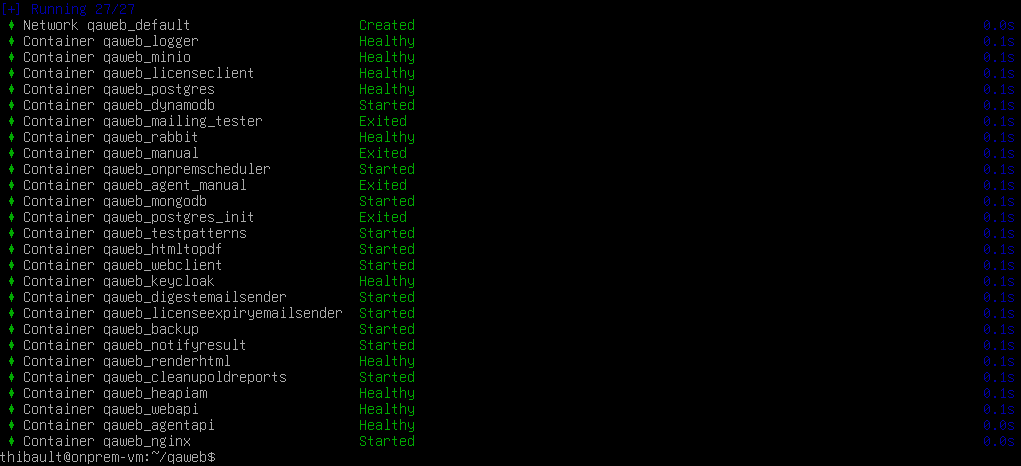
This command will read the configuration stored in conf and launch the server with the settings stored therein.
Onboarding
Once the start script has finished, you should be able to access the web interface through the domain provided in the configuration
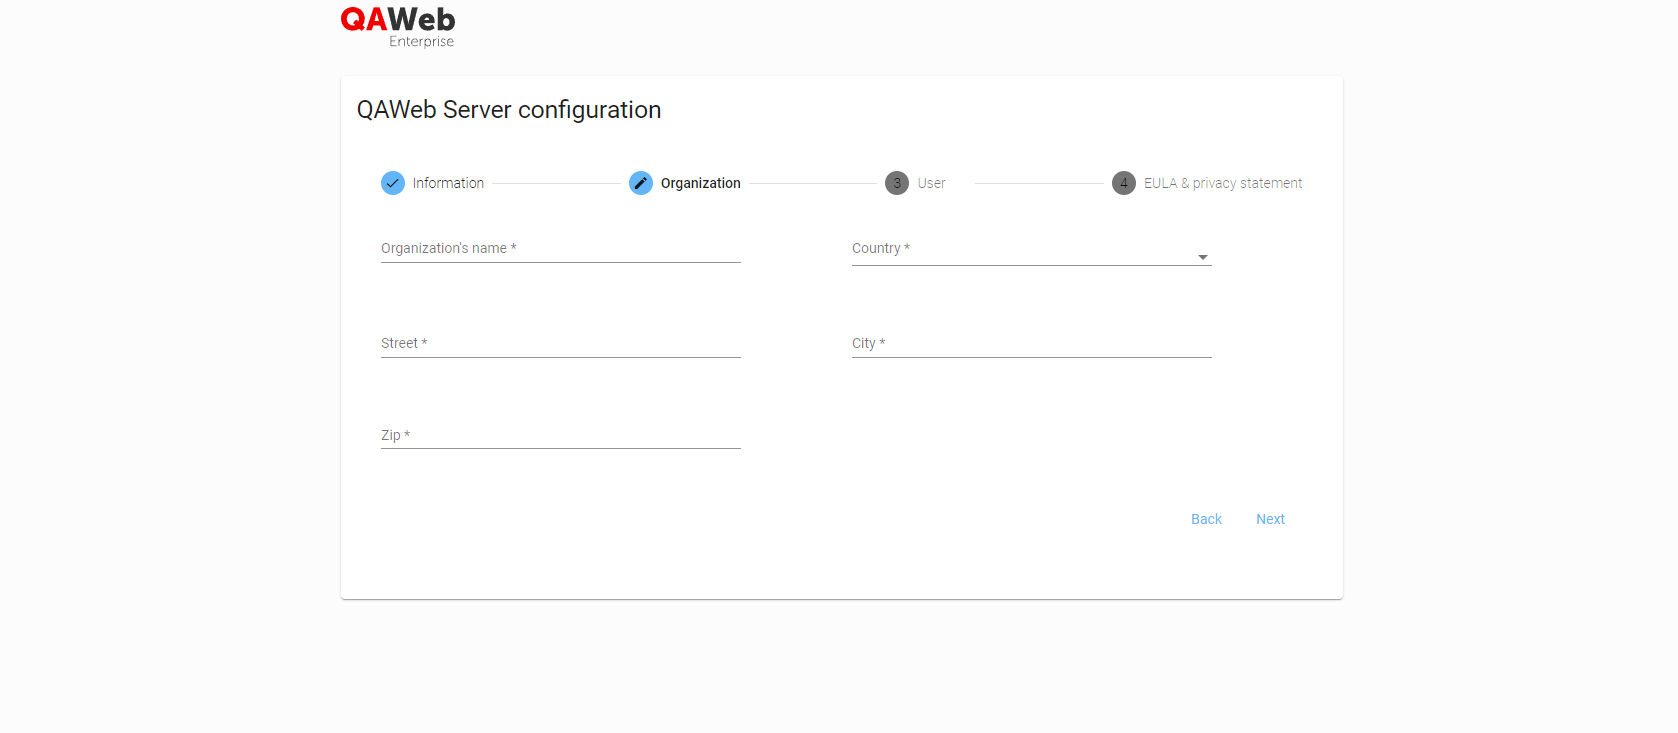
https://qaweb.example.com. When browsing to the server application for the first time, you’ll have to go through a wizard, to define your onprem organization.
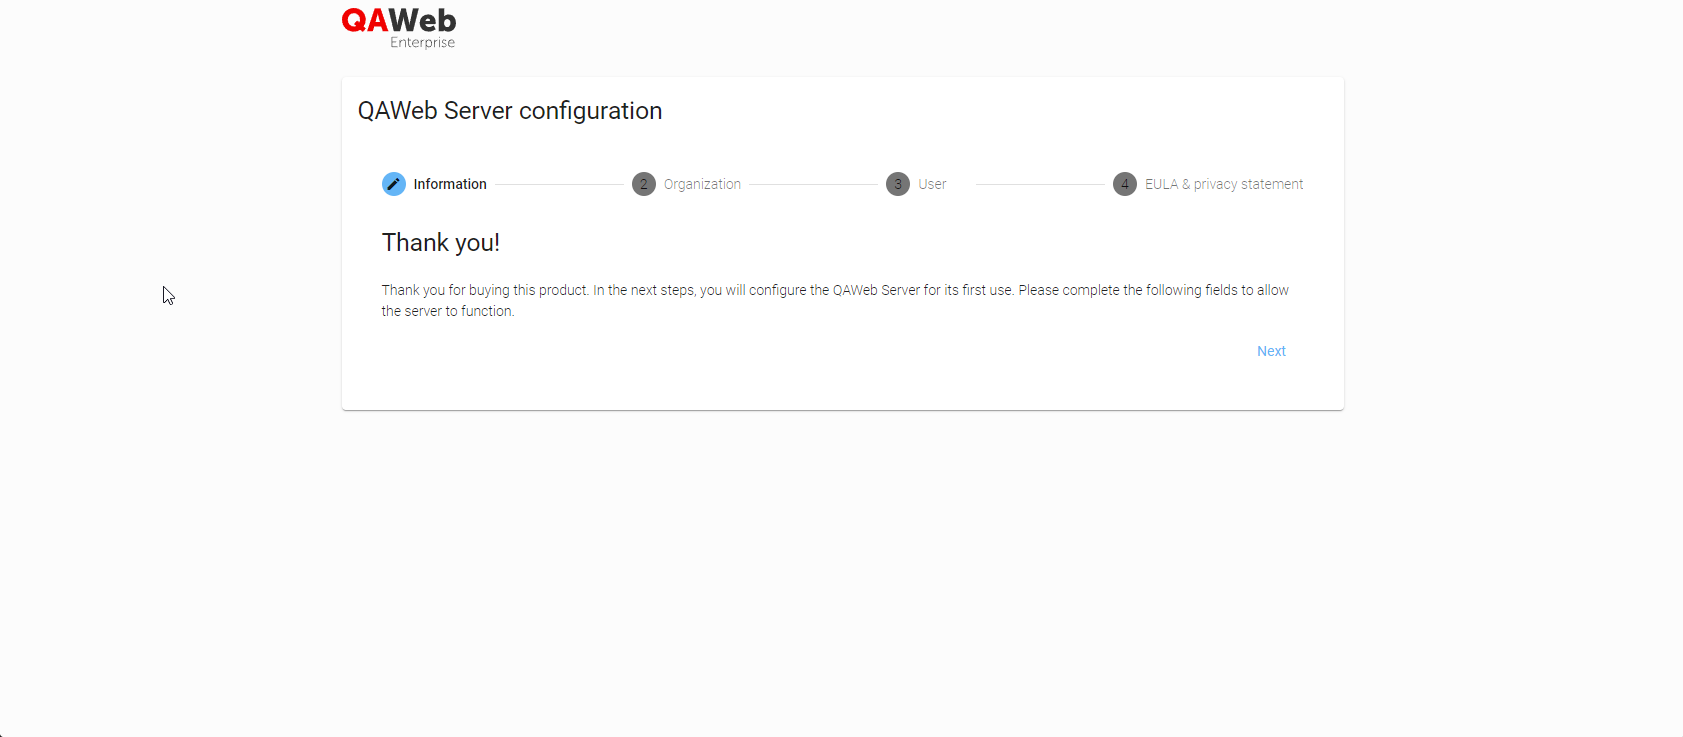
Organization step: Fill in the information about the organization that will be using the QAWeb Enterprise Local Server.
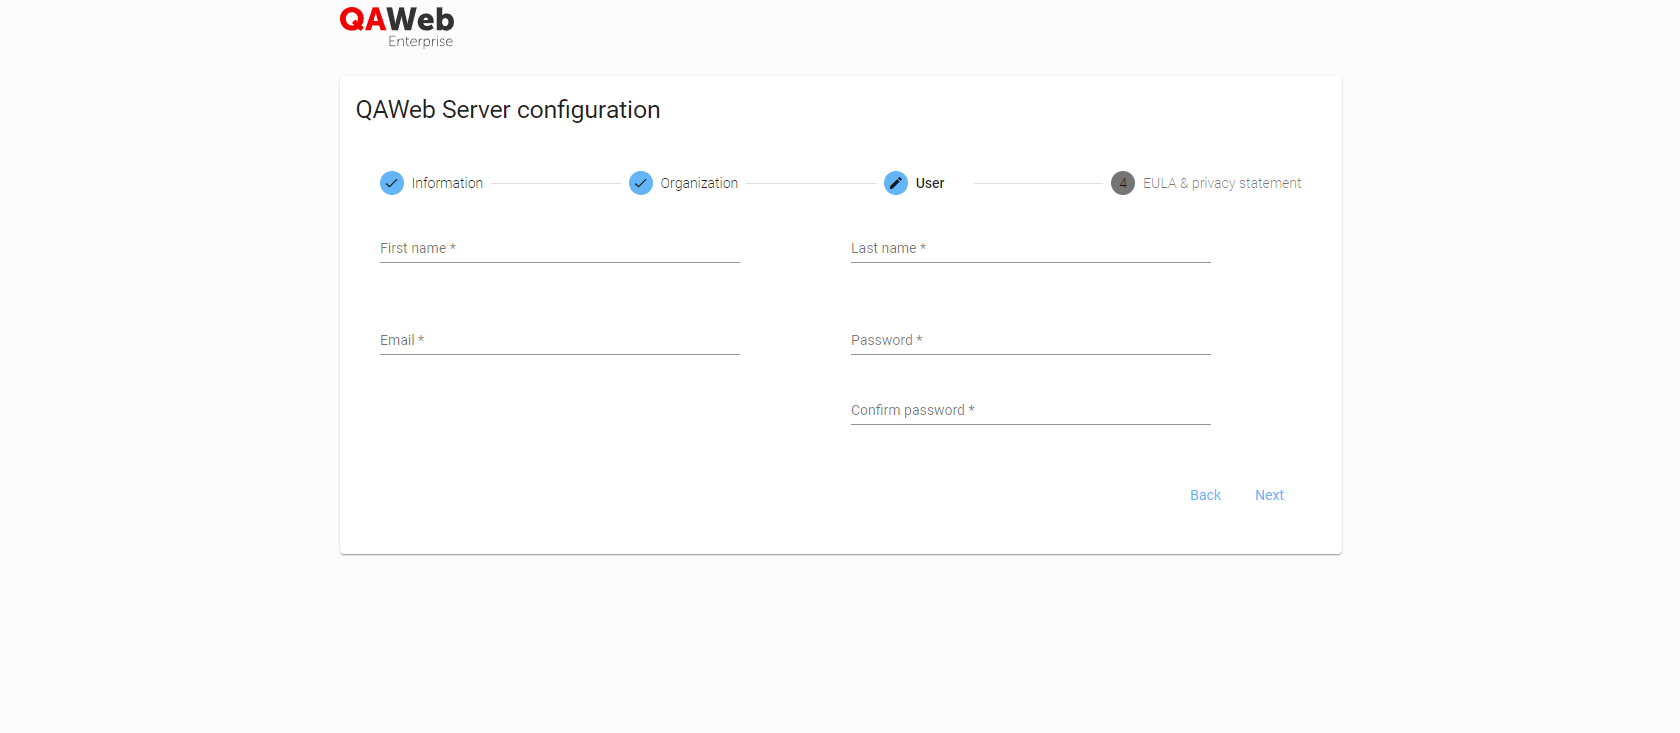
User step: This will be the initial user account used to log in to your QAWeb Enterprise Local Server.
EULA & privacy statement step: Please read the statements and accept these to finish the onboarding.
Once the wizard has been completed, you’ll be able to log in with the initial user’s credentials.
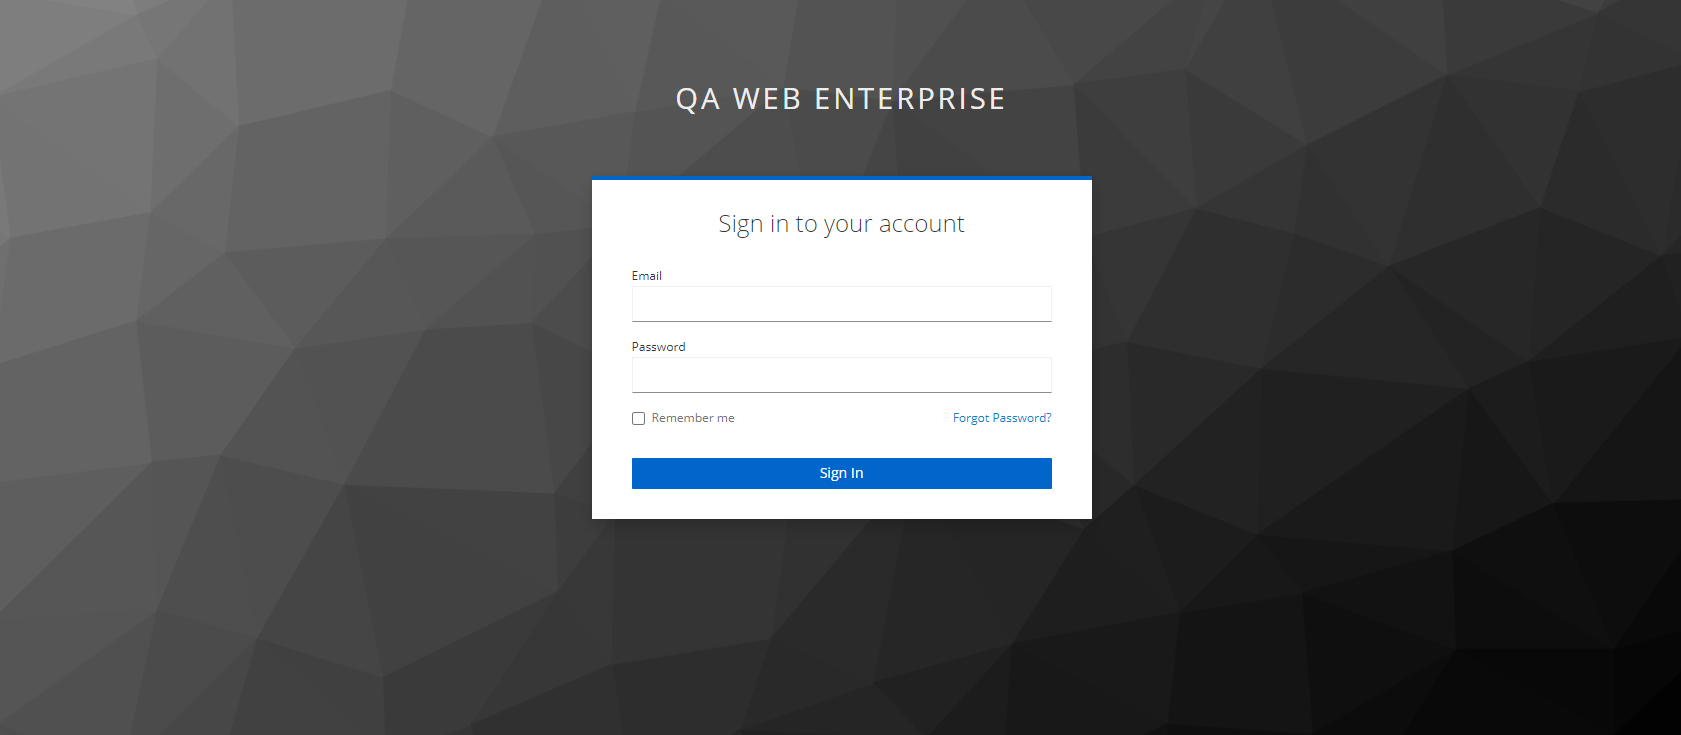
The first time you log in, you will be asked to activate your license. Depending on whether your browser has access to the Barco Cloud, you’ll have to follow either step Installations with access to Barco Cloud or Installation without access to Barco Cloud.
License activation
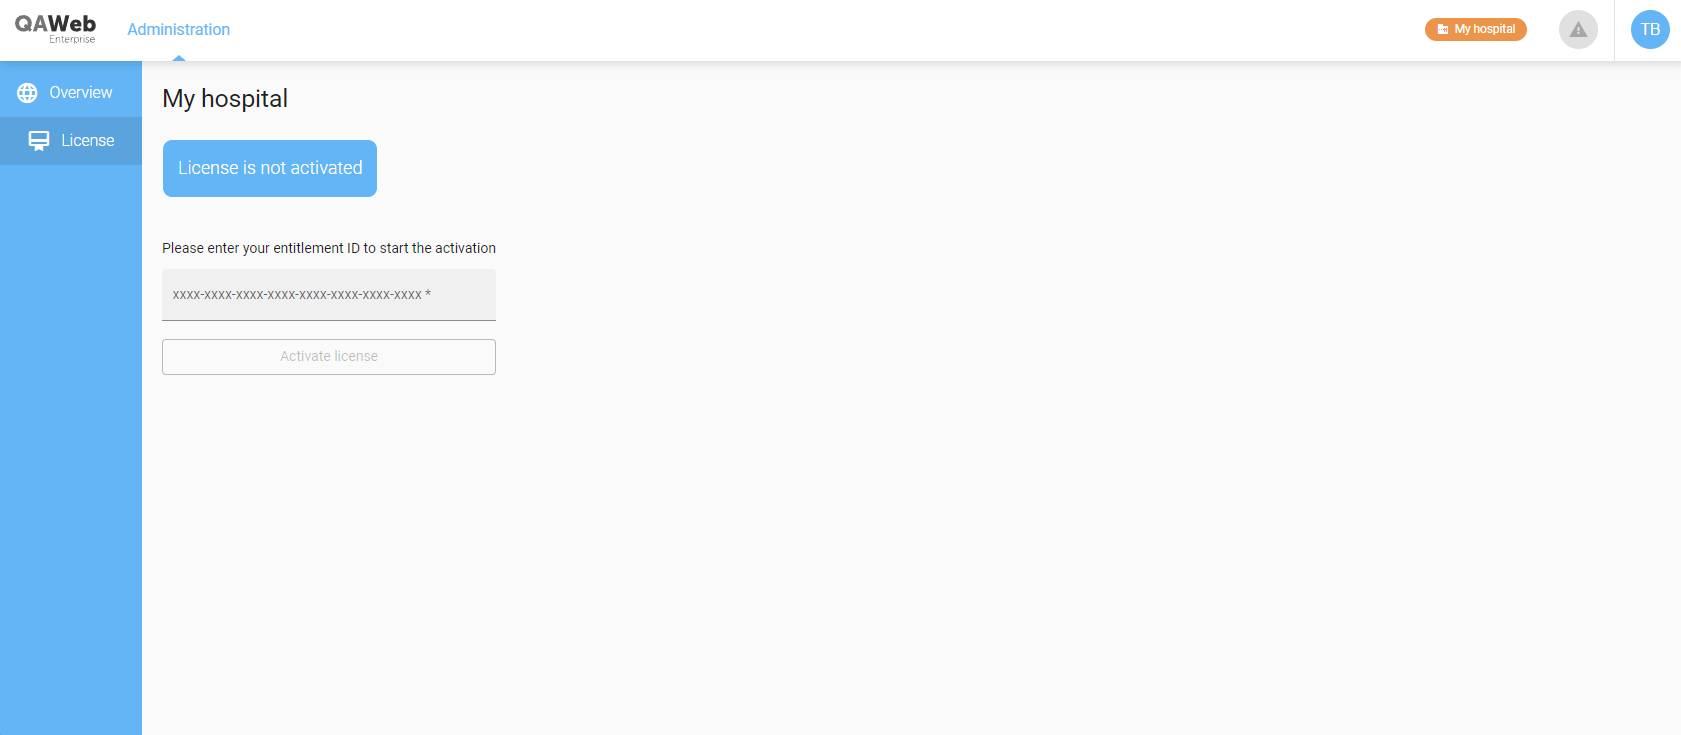
QAWeb Enterprise Local Server needs a license to unlock its functionality. Navigate to the Administration > License page to view the current status of the license or to install a new license.
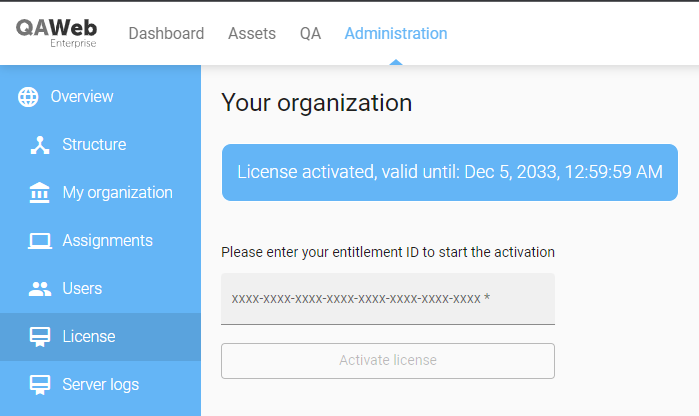
The content of this shows the status of the current license (if any) and it’s expiry date.
참고
A license is specific for your unique QAWeb Enterprise organization. Moving server hardware or cloning onto other server infrastructure should not invalidate the license.
This page also offers to enter an entitlement ID to activate a new license. Contact your Barco Sales representative or your partner to obtain such an entitlement. Depending on the connectivity to Barco’s Cloud services, this will automatically fetch and install a license suited for your installation or it will guide you through the process of exchanging your entitlement for a license.
Installation with access to Barco Cloud
In this case, there is connectivity between your browser and the Barco Cloud. The browser will exchange the device identification of your Local Server and the entitlement for a license valid for your installation.
Enter your entitlement ID to start the activation process.
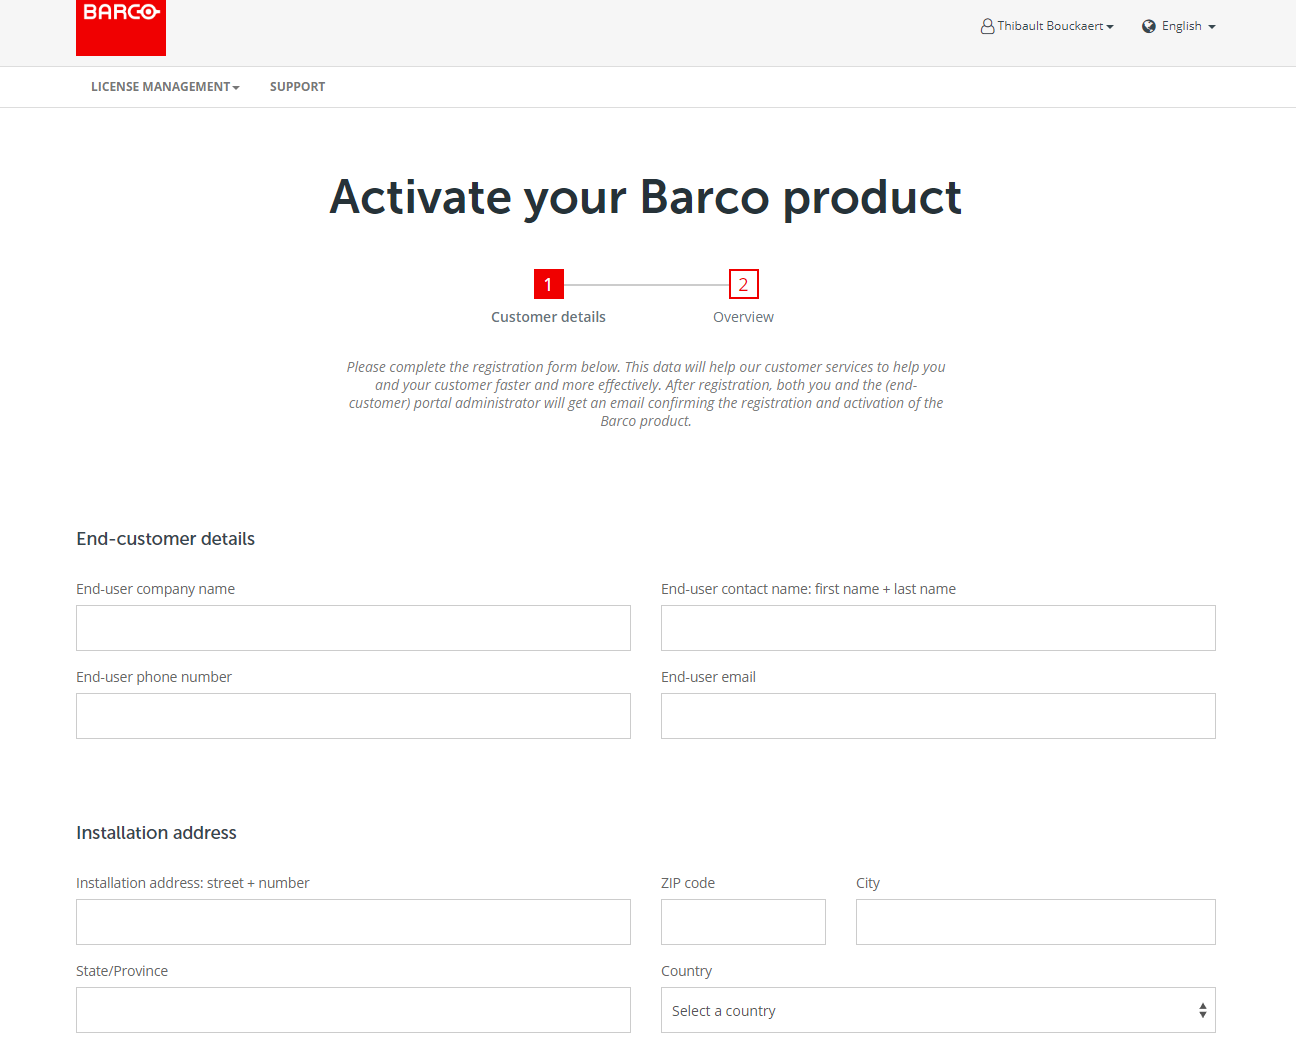
Fill in your details on the newly opened browser tab. Allow popups if your browser does not show them by default.
When you see the “Thank you for activating screen”, you can safely close the tab and return to previous QAWeb Enterprise tab.
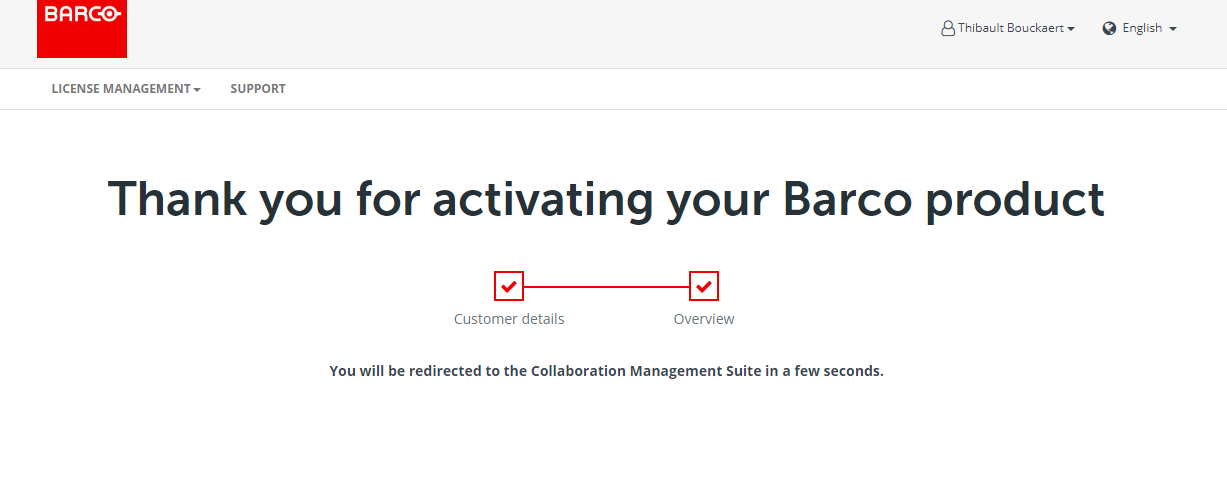
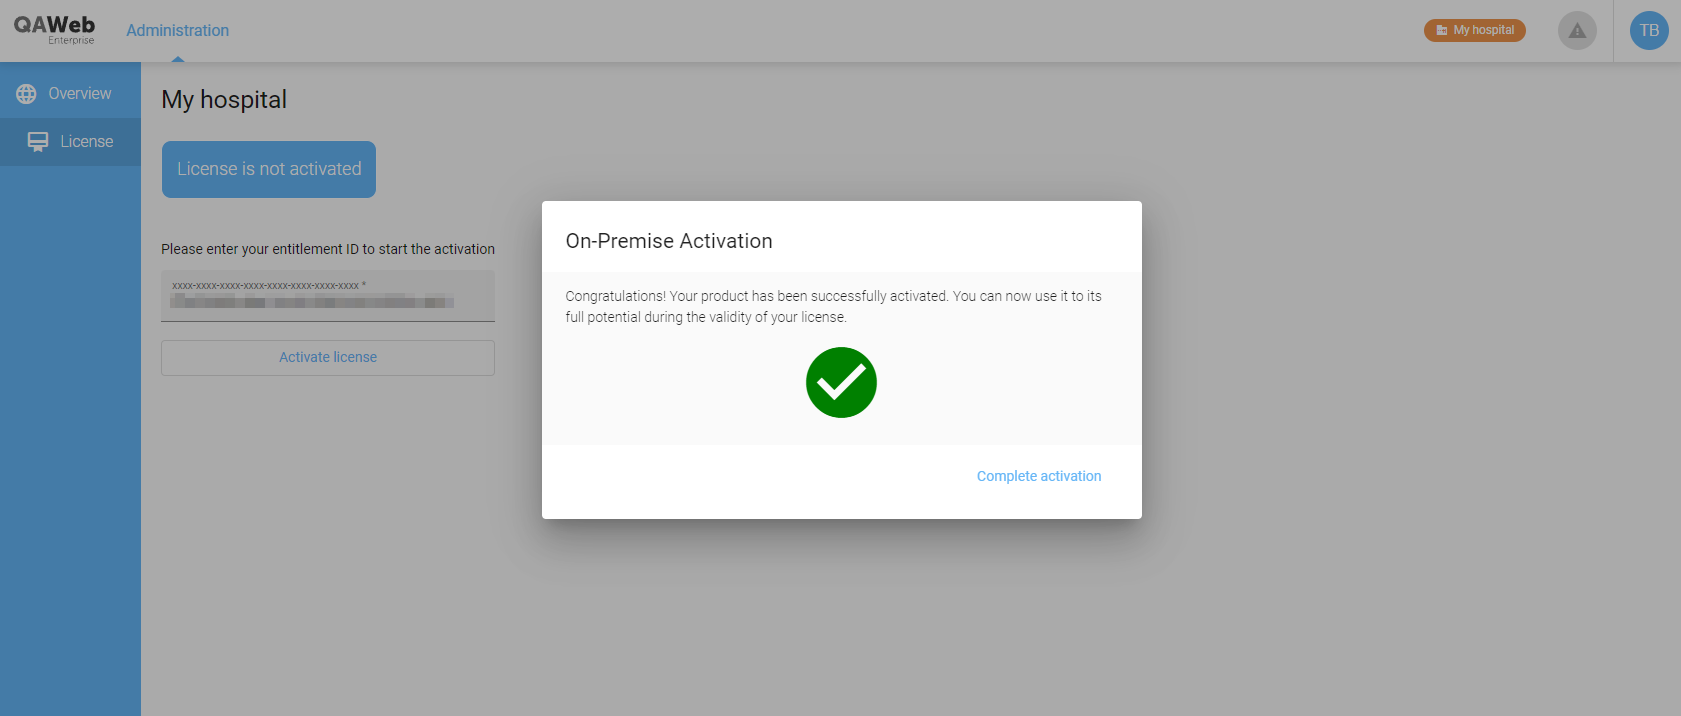
Your product has now been activated.
Installation without access to Barco Cloud
In this case, there is no connectivity between your browser and the Barco Cloud. The steps that result in an activated product will require you to exchange information back and forth between the Local Server installation and the Barco License Activation Portal.

Halting the server application
To halt the server application, run the stop script from the Local Server’s installation directory:
./stop.sh
This command will stop the docker containers that make up the Local Server.
Update of the server application
To update the Local Server:
Make a backup.
Copy the newly created backup from the
backupsdirectory to external storageConfigure the new version of the Local Server. This will take into account the current configuration and will expand it with any new settings that may be required.
Backup of server data
Backups are made periodically according to the BACKUP_SCHEDULE setting in the configuration.
A backup can also be triggered manually, by executing the backup script:
./backup.sh
Each backup operation results in a timestamped, compressed archive stored in the backups directory.
Restoring a backup
Restoring a backup is done through the restore script:
./restore.sh [backup archive]
Backup archives must reside in the backups directory. You can list the available backups by running:
./restore.sh -ls
It should be possible to restore a backup of an older version of the Local Server on a newer version of the software. Remember to reconfigure the server before starting it in this cicrumstance, as not all configuration settings of the new Local Server version may be present in the configuration files stored in the backup archive.
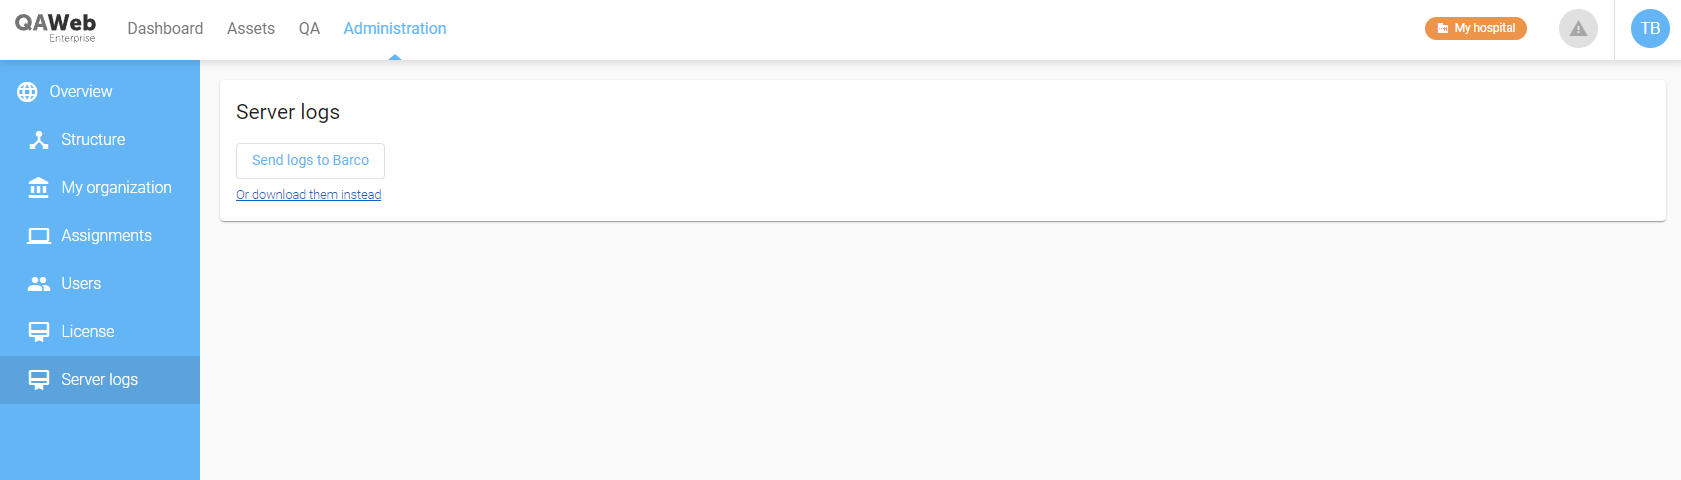
Download of server logs
In case of issues, it may be helpful for Barco support to look at the logging statements generated by the Local Server.
To that end, an Administration menu entry has been added to the Local Server’s web interface. If your browser can connect to Barco’s cloud services, the web interface can upload the server logs to Barco directly for Barco support to review. If your browser can’t connect, the server logs can be downloaded to your computer and you can send them to Barco support through other channels.
If there is a problem that renders the web interface unavailable, a fallback is provided for use outside of the docker containers, by invoking:
./collect_logs.sh
This will generate an archive with the logging information, just like the web interface would and will store it in the Local Server’s directory.
Security recommendations
Barco has put everything in place to be able to sufficiently secure the product. A joint responsibility model is in place to fully protect the installation. Please review the recommendations below.
Restrict infrastructure access
The Local Server application is running on top of a machine secured by customer IT. Securing this machine is necessary to be able to provide a secure application on top. Take these measures into account:
Access to the physical infrastructure is restricted.
Remote access to the machine running the application is restricted.
Access to the location where backups are stored is restricted.
Operating system updates
The IT organization is responsible for the timely application of operating system patches and updates. Updates to packages other than Docker Engine and Docker compose can be applied independently of Barco. For security reasons, it is good practice to enable automatic security updates for the Linux distribution.
Server back-ups
The IT organization is responsible for setting up a periodic back-up of the virtual server to avoid loss of all data in an unforeseen event. The frequency of backups and number of backups to retain should be determined depending on importance for the organization not to lose any QA test results and reports or impact by the unavailability of the application. Barco recommends a daily or weekly backup frequency.
Access to the backups needs to be restricted to prevent unauthorized access. We advise to encrypt the backup files.
Application logs
We advise to store the Local Server logs on a different machine (see Installation of the server application). Access to the logs needs to be restricted so only necessary people are capable of viewing these logs. Write access needs to be restricted to prevent altering of the logs except by the application itself.
Alternatively, you can periodically collect the logging information and copy the resulting archive to external storage.
Disposal instructions
When the machine which is hosting the QAWeb Enterprise Local Server is decommissioned, it is advised to remove these items:
configuration files
related docker containers
related docker images
related docker volumes
When the application logs are located on another machine, the logs need to be removed from that machine before decommissioning.